How to Winterize an RV Without Treating Every Rig the Same
Part 1 of 6 in the RV Seasonal Care Series.
RV winterization becomes risky when a general checklist is treated as an exact procedure for every rig. A towable with a tank water heater and simple plumbing may need a different sequence from a motorhome with a tankless heater, washer, ice maker, filter housing, solar charging and lithium batteries.
Begin with a seasonal reference page
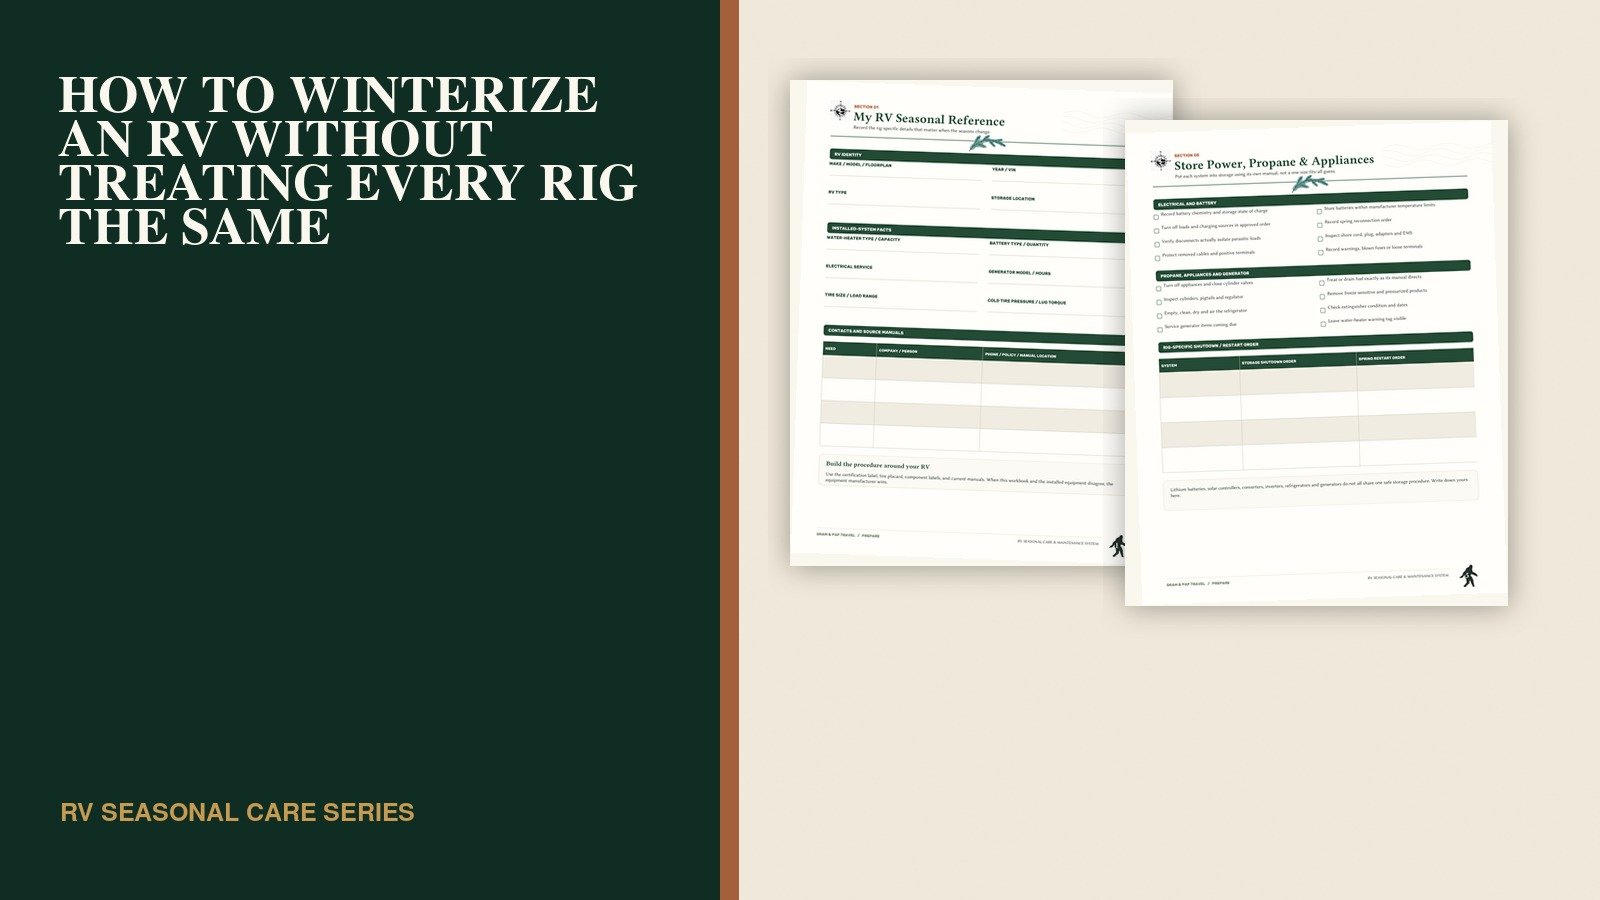
Record the RV make, model, year, VIN, water-heater type, battery chemistry, electrical service, generator information, tire specifications and storage location. Add the location of the current RV and component manuals. Those facts turn a general checklist into a map for the equipment actually installed.
When a workbook, article or video disagrees with the current manual for installed equipment, the manufacturer’s procedure controls. RV designs vary too much for a universal valve position, air-pressure limit or battery-storage state.
Decide the storage conditions first
Indoor, covered and outdoor storage expose the RV to different combinations of temperature, moisture, wind, sun and inspection access. Record the expected low temperature, whether shore power is available, whether the battery remains installed and how often the rig can realistically be checked.
Choose the approved water-system method
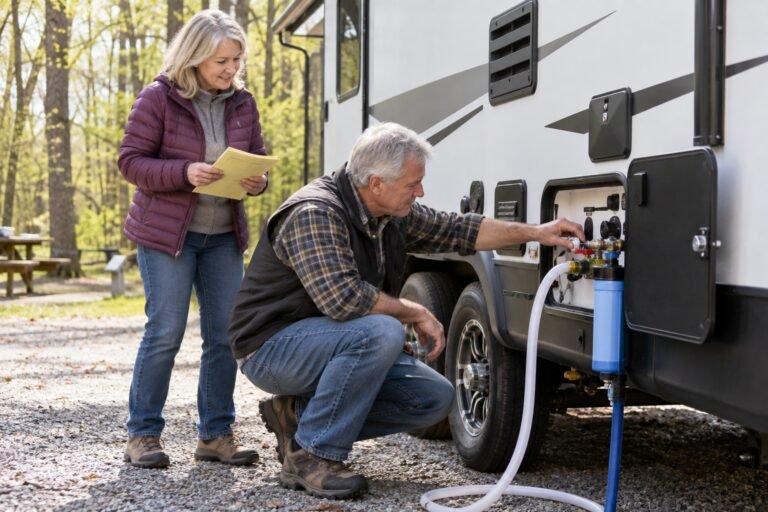
The common approaches are blowing water from the lines, pumping non-toxic RV/marine antifreeze through the plumbing, or using a manufacturer-approved combination. First turn off every water-heater energy source, allow the tank to cool, disconnect city water and relieve pressure. Drain the fresh tank, low points, water heater and every accessory the RV manual identifies.
Filters, outside showers, spray ports, toilet lines, pump strainers, city inlets, ice makers and washer connections are easy to miss because not every RV has them. Photograph bypass valves before changing them and record the approved air-pressure limit if a blowout method is used. Never use automotive antifreeze in an RV potable-water system.
Verify the waste plumbing physically
An empty tank reading does not prove that the pipe behind the termination cap is empty. Liquid can remain in a valve body, low spot, common outlet or capped termination section. Keep the sewer hose connected until flow stops, cycle the valves, remove the cap safely, observe the outlet and correct any accessible low spot according to the RV’s design.
Give power, propane and appliances their own instructions
Battery chemistry, charging equipment, refrigerators and generators do not share one universal storage procedure. Record the approved shutdown and restart order for each system. Close propane cylinder valves, inspect visible components, empty and dry the refrigerator, and treat or drain generator fuel only as its manual directs.
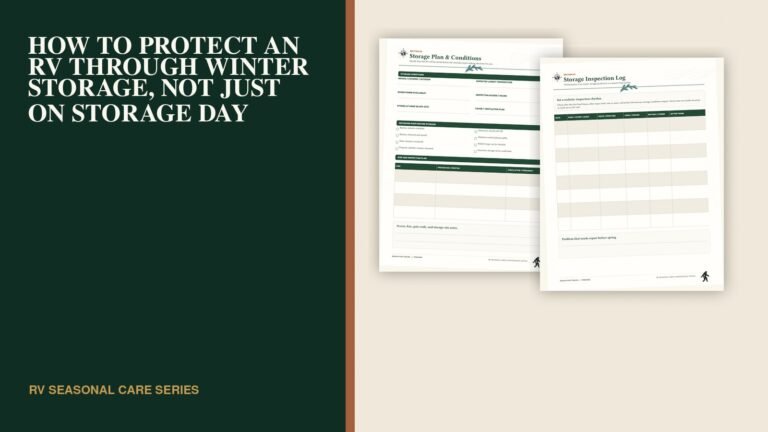
The RV Seasonal Care & Maintenance System puts the rig reference, storage decisions, water winterization, waste-plumbing verification and system shutdown notes in one printable sequence. It is designed to hold the RV-specific answers—not replace the manuals that supply them.
Leave the spring procedure for your future self
Record valve positions, removed parts, warning tags and the order needed to reconnect the systems. Winterization is finished when the vulnerable equipment is protected and the next person can understand exactly what changed. That next person may still be you, but spring has a habit of erasing the small details.
Safety note: RV designs and installed components vary. Follow the current manuals and safety instructions for the exact RV, chassis, axles, batteries, water heater, appliances, generator, solar equipment and other installed systems. Use qualified service help when a procedure is outside your experience or cannot be verified safely.