Shore Power Safety: What to Check Before You Plug In
That innocent-looking shore power pedestal at your campsite might seem ready to go, but trust me – we’ve learned the hard way that appearances can be deceiving. After three years on the road and more close calls than I care to admit, we now do a quick safety dance around every electrical pedestal before plugging in our rig.
Last summer at a state park in Colorado, we rolled into what looked like a perfect spot. The pedestal appeared fine from a distance, but when I got closer for our usual checks, I found the 30-amp outlet was literally hanging by its wires. The metal housing was cracked, exposing live wires to anyone who might grab it wrong. That could’ve been a trip-ending disaster – or worse.
So yeah, we’ve become those people who inspect every pedestal like suspicious detectives. And you know what? It’s saved our bacon more than once.
Why Shore Power Pedestals Can Be Dangerous
Campground electrical systems take a beating. Think about it – these pedestals sit outside in all kinds of weather, getting used by hundreds of different RVers with varying levels of electrical knowledge. Some folks yank cords out without turning off breakers first. Others might have faulty equipment that damages the pedestal for the next guy.
We’ve seen pedestals with:
- Loose or missing outlet covers
- Corroded connections that spark
- Improper wiring that could send the wrong voltage to your RV
- Damaged ground connections
- Breakers that don’t actually work
The scary part? Most of these problems aren’t obvious until you start looking closely. And by then, if you’ve already plugged in, it might be too late for your RV’s electrical system.
Our Pre-Connection Shore Power Inspection Routine
Before we even think about plugging in, we walk through the same checklist every single time. It takes maybe five minutes, but those five minutes have prevented some expensive mistakes.
Visual Inspection First
We start by looking at the overall condition of the pedestal. Is it sitting straight? Any obvious damage to the housing? Are there scorch marks around any of the outlets? Black marks or melted plastic around electrical connections usually mean someone had a bad day here recently.
Check that all the outlet covers are present and properly secured. Missing covers expose live parts to weather and curious fingers. If covers are loose or damaged, that’s often a sign that the connections inside might be loose too.
Look for any signs of corrosion around the outlets. Green or white crusty deposits mean water has been getting where it shouldn’t. That corrosion can cause poor connections, voltage drops, or even complete failure once you’re plugged in and depending on shore power.
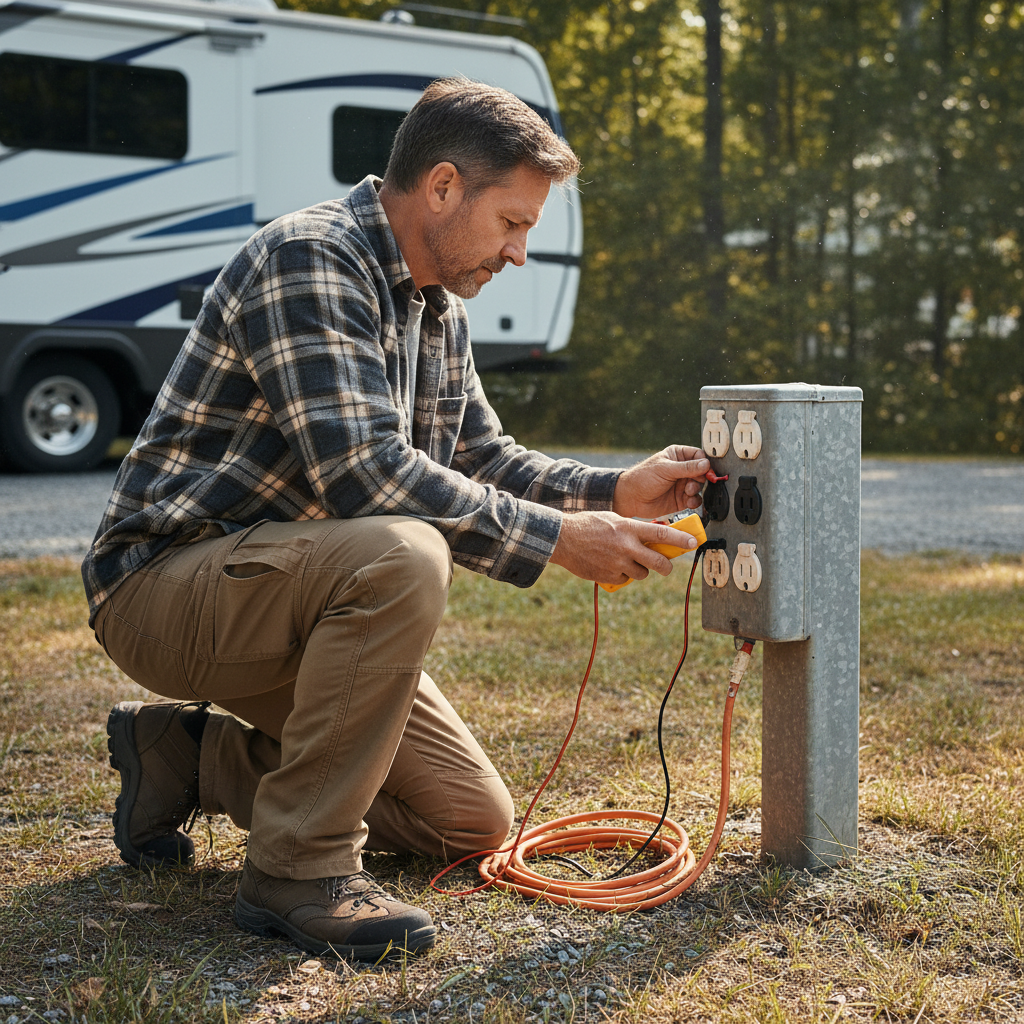
Testing the Outlets
Here’s where having the right tools makes all the difference. We carry a basic electrical tester – nothing fancy, just a simple device that tells us if an outlet is wired correctly and delivering the right voltage.
Before plugging in our RV, we test the outlet we plan to use. The tester will show us if we’ve got proper voltage (should be around 120V for each leg on a 30-amp connection), and more importantly, whether the outlet is properly grounded.
A missing or faulty ground connection is invisible until something goes wrong, but it’s critical for your safety and your RV’s electrical system. Without proper grounding, you could end up with dangerous voltage on your RV’s frame, or your electrical protection systems won’t work correctly.
Essential Tools for Shore Power Safety
Over the years, we’ve assembled a small kit of electrical testing tools that travels with us everywhere. You don’t need to become an electrician, but having these basics can save you from costly problems.
Non-Contact Voltage Tester
This little gadget lets you check if electrical parts are live without actually touching them. Wave it near the outlets and connections – if it beeps or lights up, there’s voltage present. Super handy for checking if power is actually off when you think it should be.
Outlet Tester
These plug-in testers show you immediately if an outlet is wired correctly. Three lights in different combinations tell you if you’ve got proper hot, neutral, and ground connections. Takes the guesswork out of whether that pedestal is safe to use.
Multimeter
A basic multimeter lets you measure actual voltage levels. Campground power can be inconsistent – we’ve seen everything from 105V to 135V coming out of pedestals. Your RV can handle some variation, but extreme voltages can damage sensitive electronics.
Just like we learned to pack essential tools for our RV kitchen essentials, having these electrical tools has become non-negotiable for us.
Red Flags That Mean Walk Away
Some problems you can work around, but others are deal-breakers. Here’s when we pack up and find a different site, even if it means driving to another campground.
Obvious Physical Damage
Cracked housings, exposed wires, or outlets that are loose or falling out of the pedestal are immediate no-gos. We don’t mess around with obviously damaged electrical equipment, period.
No Ground Connection
If our outlet tester shows a missing ground, we don’t plug in. The ground connection is your safety net – without it, any electrical fault in your RV could make the entire frame hot with dangerous voltage.
Voltage Problems
Consistently low voltage (under 105V) will make your air conditioner struggle and could damage the compressor. High voltage (over 130V) can fry electronics and LED lights. Either way, we look for a different spot or ask the campground to check their electrical system.
What to Do When You Find Problems
Finding a problem doesn’t automatically mean your camping trip is ruined. Depending on what’s wrong, you might have options.
Minor Issues
Loose outlet covers or minor corrosion might not be show-stoppers, but definitely let the campground know so they can fix it for the next camper. Sometimes a different outlet on the same pedestal will be in better shape.
Voltage Issues
If the voltage is just a little low or high, you might still be able to camp there by being selective about what you run. Skip the air conditioning if voltage is low, or unplug sensitive electronics if it’s running high.
Some RVers carry voltage regulators or surge protectors that can handle minor voltage variations. We’ve considered adding one to our setup after some of the sketchy power we’ve encountered.
When to Call It Quits
Major wiring problems, missing grounds, or dangerous physical damage mean it’s time to unhook and move on. Just like we learned from our RV awning fails, sometimes the smart move is to cut your losses before something expensive breaks.
Don’t be afraid to ask the campground for a different site if the pedestal isn’t safe. Most places would rather move you than deal with liability issues from faulty electrical systems.
Protecting Your RV’s Electrical System
Even with careful pedestal inspection, surge protectors and electrical management systems add another layer of protection for your rig’s electrical system.
We run a basic surge protector that will shut off power if voltage gets too high or too low. It’s saved us a couple of times when campground power went wonky in the middle of the night.
Some folks go further with full electrical management systems that monitor and condition the power coming into their RV. For us, the basic surge protector plus our careful inspection routine has been enough protection without breaking the budget.
Learning from Other Systems
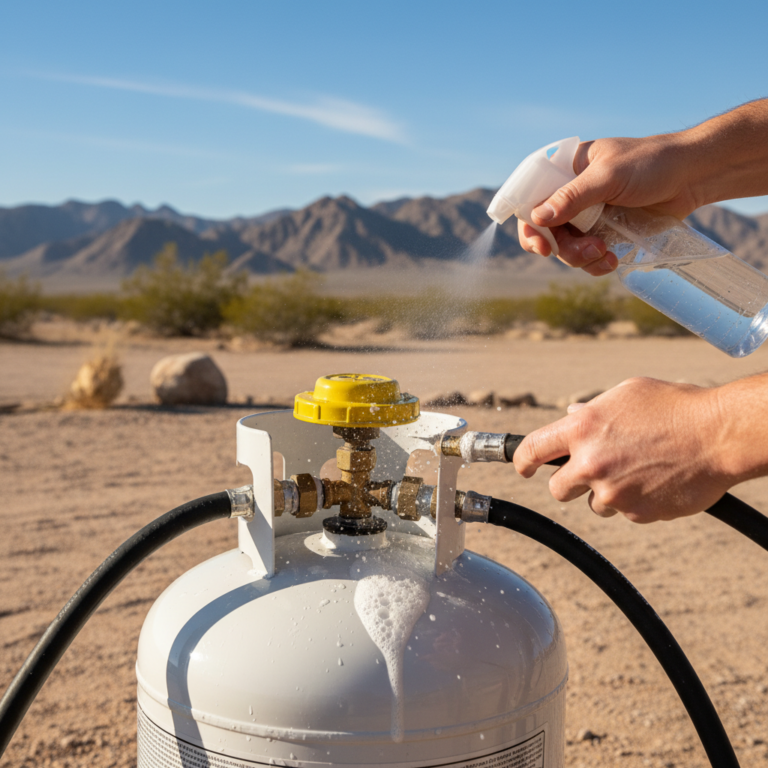
Just like we approach RV propane safety checks, electrical safety is all about developing good habits and sticking to them. The few minutes spent checking shore power before connecting has become as automatic as setting up our awning or hooking up water.
Seasonal Considerations for Shore Power
Different times of year bring different electrical challenges. Summer means higher demand on campground electrical systems, especially when everyone’s running air conditioning. Voltage can drop significantly during peak usage hours.
Winter camping brings its own issues. Cold weather makes plastic more brittle, so outlet covers and housings are more likely to crack. Ice and snow can get into connections that seemed fine in warm weather.
Spring is often when you’ll find the most winter damage to pedestals. Freeze-thaw cycles are hard on electrical connections, and maintenance crews might not have gotten to every pedestal yet after a long winter.
When Good Pedestals Go Bad
Even pedestals that pass your initial inspection can develop problems while you’re plugged in. We’ve learned to pay attention to warning signs that something’s going wrong with the campground power.
Lights dimming when the air conditioning kicks on usually means voltage is dropping too low. Your refrigerator struggling to maintain temperature might be another sign of power problems.
If you notice any burning smells, sparking, or your surge protector shutting off repeatedly, disconnect immediately and investigate. Better to spend a night without hookups than to fry your RV’s electrical system.
Final Thoughts on Shore Power Safety
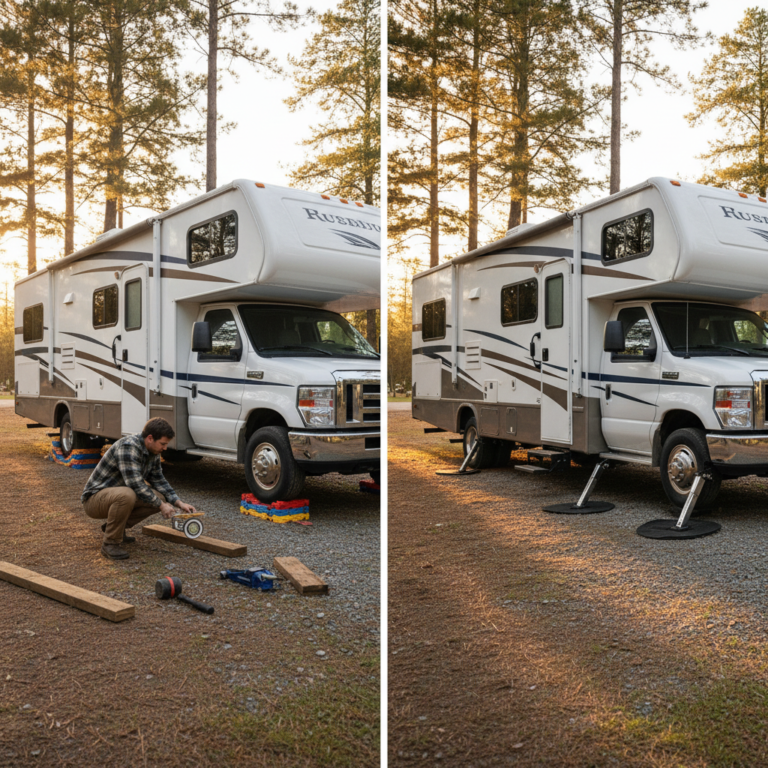
Look, I know this might seem like overkill for what should be a simple connection. But after seeing what can happen when shore power goes wrong, those few minutes of checking have become part of our setup routine right alongside leveling the RV and hooking up water.
The tools we carry for electrical testing take up less space than a paperback book and cost less than a single night in most RV parks. Compared to the potential cost of replacing a fried inverter, air conditioning unit, or worse, it’s the cheapest insurance we carry.
Plus, there’s something satisfying about knowing your electrical connection is solid before you settle in for the evening. One less thing to worry about when you’re trying to relax and enjoy wherever the road has taken you.
Safe travels, and remember – a few minutes of caution beats hours of troubleshooting or days waiting for repair parts to arrive at some remote campground.