RV Slide-Out Maintenance: Keep ‘Em Moving Smooth
Nothing kills the camping mood quite like a slide-out maintenance nightmare. We learned this the hard way last summer when our bedroom slide decided to stage a protest in 90-degree heat outside Arches National Park. What started as a minor sticky situation turned into a two-day ordeal that could’ve been completely avoided with proper care.
Here’s the thing about slide-outs – they’re basically your RV’s moving parts that work the hardest and get the least attention. Most of us remember to check our tire pressure and change the oil, but those slides? Out of sight, out of mind, until they’re not moving at all.
After dealing with our own slide-out drama and talking to more experienced RVers, we’ve put together a maintenance routine that’s kept our slides operating smoothly for over two years now. Plus, I’ll share the warning signs that saved us from an even costlier repair down in Moab.
Understanding Your Slide-Out Maintenance Basics
First things first – not all slide-outs are created equal. Most RVs use either electric motor-driven systems or hydraulic systems. Ours has two electric slides, and honestly, that’s what we prefer after hearing horror stories about hydraulic leaks.
The basic components that need regular attention include the motor/gear assembly, the slide rails or tracks, the seals around the slide room, and the support mechanisms underneath. Think of it like maintaining a giant drawer that weighs several thousand pounds and has to seal out weather.
What makes slide-out maintenance tricky is that these systems are exposed to everything – road salt, dust, temperature swings, and moisture. They’re working in conditions that would challenge any mechanical system, yet we expect them to operate flawlessly hundreds of times per year.
The good news? A little preventive care goes a long way. Most slide-out problems develop slowly, giving you plenty of warning if you know what to look for.
Our Monthly Slide-Out Maintenance Routine
We check our slides monthly, or more often if we’re doing a lot of moving around. This routine takes about 30 minutes and has saved us from multiple potential problems.
Start by extending and retracting each slide several times while listening carefully. Any new sounds – grinding, squealing, or unusual humming – deserve immediate attention. Our bedroom slide started making a slight whirring noise about three months before it got sticky. If we’d acted then instead of ignoring it, we could’ve avoided the whole mess.
Next, inspect the slide rails or tracks for debris, corrosion, or damage. We use a flashlight and get down on our hands and knees for this part. Look for bent tracks, loose bolts, or any signs that the slide isn’t moving smoothly along its intended path.
Check all the seals around the slide room. These rubber seals are your first line of defense against water damage, and they take a beating from UV exposure and temperature changes. Look for cracks, tears, or sections that aren’t sealing properly when the slide is retracted.
Finally, test the slide operation from both inside and outside the RV. Sometimes you’ll notice issues from one location that aren’t obvious from the other.
Lubrication Points and Schedule
This is where most RVers mess up, ourselves included initially. Different parts of your slide system need different types of lubrication on different schedules.
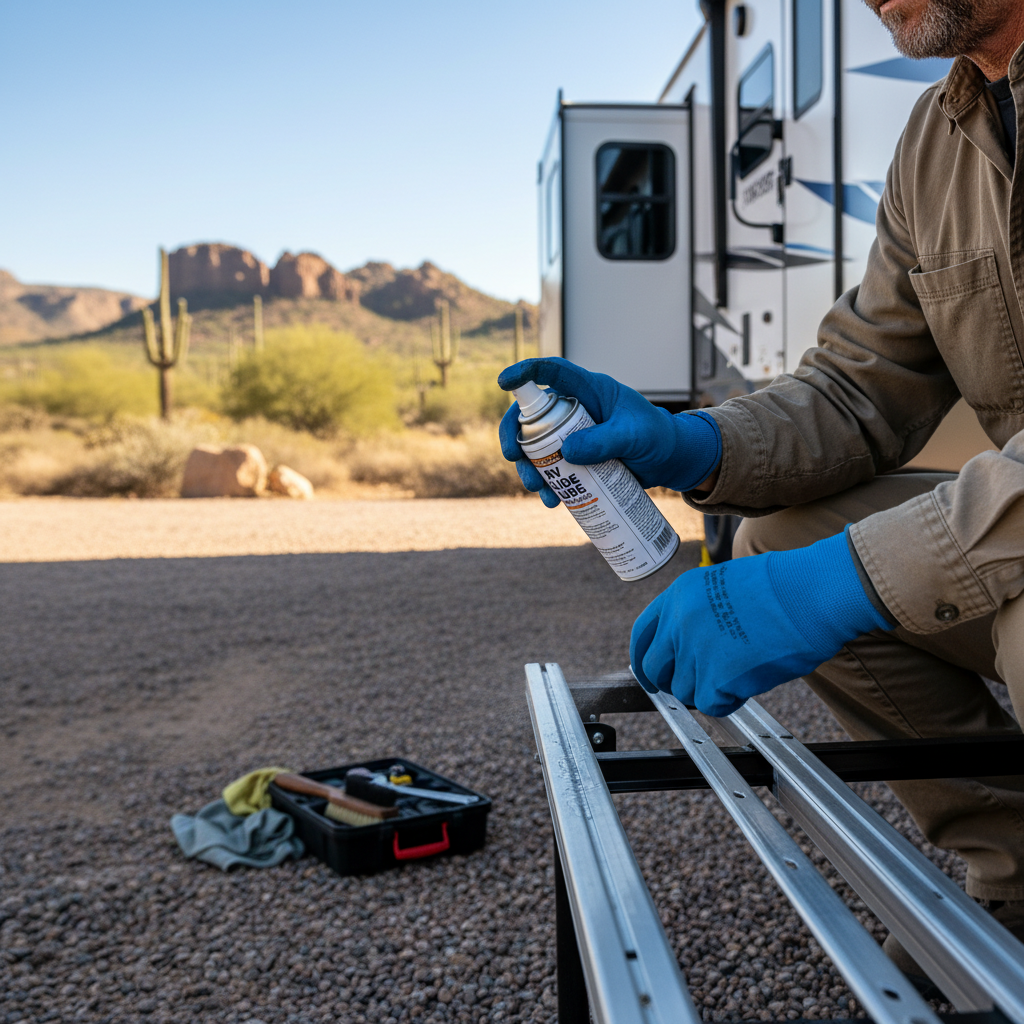
The slide rails or tracks need regular cleaning and lubrication. We use a dry silicone spray every month, applying it to clean tracks. Never use petroleum-based lubricants on the tracks – they attract dirt and can damage rubber seals.
The motor and gear assemblies typically need grease every six months or so, but check your owner’s manual for specifics. This usually requires removing access panels and can be messy, but it’s crucial for preventing the kind of failure we experienced.
Pivot points, hinges, and support mechanisms get a few drops of light machine oil every few months. These are often overlooked but are critical for smooth operation.
Warning Signs That Saved Us from Disaster
Down in Moab last fall, we noticed our kitchen slide was retracting slightly slower than usual. It was subtle – maybe an extra second or two – but enough to make us pay attention.
We also heard a faint clicking sound during operation that hadn’t been there before. Instead of ignoring it like we did with our bedroom slide, we decided to investigate.
Turns out, one of the support brackets had worked loose, and the slide was starting to bind. A quick tightening session and some fresh lubrication solved the problem, but our RV tech later told us we were maybe a week away from bending the slide rails.
Other warning signs to watch for include uneven movement (one side extending faster than the other), visible sagging when the slide is extended, gaps in the seals when retracted, or any resistance when operating manually if your system allows it.
Water stains around the slide are another red flag. Even small leaks can cause major damage over time, and slide seal problems often start small and get worse quickly.
Seasonal Slide-Out Maintenance Tasks
Beyond monthly checks, we do more thorough seasonal maintenance. Spring preparation includes a complete cleaning and lubrication after winter storage, seal inspection and conditioning, and testing all electrical connections.
Fall preparation focuses on protecting against winter weather. We apply extra seal conditioner, make sure drainage systems are clear, and do a complete operational test before any long-term storage.
During active travel season, we increase our inspection frequency, especially when moving frequently or traveling in dusty conditions. Desert travel, in particular, is hard on slide mechanisms.
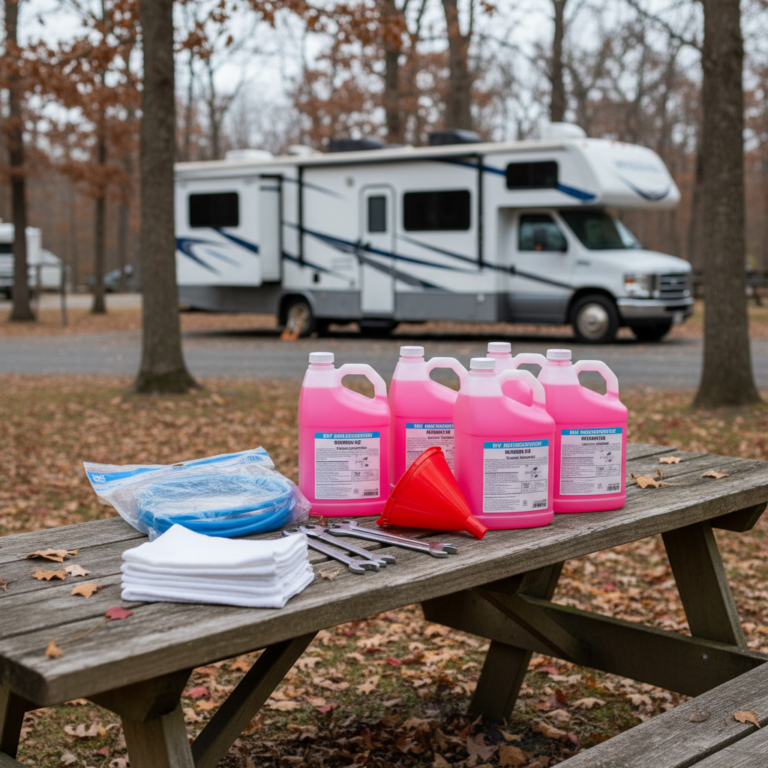
Tools and Supplies for DIY Slide-Out Care
You don’t need a full shop to maintain your slides, but having the right supplies makes the job easier and more effective. Our basic slide-out maintenance kit includes silicone spray lubricant, rubber seal conditioner, clean rags, a good flashlight, and basic hand tools.
For more thorough maintenance, add marine grease for gear boxes, light machine oil for pivot points, and cleaning supplies for removing road grime and debris. We keep everything in a dedicated toolbox – similar to how we organize our RV kitchen essentials – so it’s always available when needed.
A digital camera or smartphone is invaluable for documenting any changes or problems you notice. Take photos of anything unusual, and compare them to previous pictures to track deterioration or improvement.
When to Call for Professional Help
We’re pretty handy and willing to tackle most RV maintenance ourselves, but slide-outs have their limits. Electrical problems, major mechanical issues, or structural damage are usually beyond DIY repair.
If your slide stops working completely, don’t force it. Most slides have manual override procedures, but using them incorrectly can cause expensive damage. When in doubt, call for professional help.
Similarly, if you notice major seal damage, structural issues, or problems you can’t identify, it’s worth paying for professional diagnosis. Slide-out repairs can be expensive, but they’re usually much more expensive if small problems are allowed to become big ones.
Integration with Overall RV Maintenance
Slide-out maintenance should be part of your broader RV care routine. We check slides whenever we’re doing other maintenance tasks, like our water system winterization or routine cleaning.
This integrated approach helps you catch problems early and keeps maintenance from becoming overwhelming. Just like we learned from our awning maintenance mistakes, consistency is key to preventing major problems.
Document your maintenance activities, including dates, observations, and any work performed. This record helps track patterns and can be valuable if warranty or insurance issues arise.
Cost-Effective Prevention Strategies
Good slide-out maintenance doesn’t have to break the bank. Most preventive care costs less than $50 per year in supplies, compared to hundreds or thousands for major repairs.
Focus on consistent basic care rather than expensive gadgets or miracle products. Regular cleaning, proper lubrication, and prompt attention to small problems prevent most major issues.
Building these habits early in your RV journey saves money and frustration down the road. If you’re just getting started with RV life, consider this essential knowledge alongside budget planning for your first RV purchase.
Troubleshooting Common Slide-Out Problems
Even with good maintenance, you’ll occasionally encounter minor slide issues. Slow or jerky operation often indicates lubrication problems or debris in the tracks. Clean and lubricate before assuming major problems.
Uneven movement usually means one side is binding or has more resistance than the other. Check for obstructions, damaged tracks, or loose hardware on the problem side.
Electrical issues can often be traced to loose connections, corroded contacts, or blown fuses. Check these basics before calling for service, but be cautious around electrical systems if you’re not comfortable with them.
Seal problems often start as minor gaps or slight water intrusion. Address these quickly with proper seal conditioner or replacement before they become major leaks.
Final Thoughts on Slide-Out Care
That sticky slide experience last summer taught us that slide-out maintenance isn’t optional – it’s essential for comfortable RV living. But it doesn’t have to be complicated or expensive if you stay on top of it.
Start with monthly basic inspections and build from there. Pay attention to your slides’ normal sounds and operation so you’ll notice changes quickly. Keep basic maintenance supplies on hand and don’t put off small repairs.
Most importantly, remember that slide-outs are complex mechanical systems operating in challenging conditions. They need regular attention, but with proper care, they’ll provide years of reliable service.
The peace of mind that comes from knowing your slides will work when you need them is worth every minute spent on maintenance. Trust us – you don’t want to be the folks stuck with a broken slide in the middle of nowhere, especially when it could have been prevented with a little regular TLC.