RV Solar Setup: Real Power for Weekend Warriors
Let me tell you, when we first started thinking about RV solar power, we thought it would be straightforward. Buy some panels, slap them on the roof, and boom – we’d never need to plug in again. Boy, were we wrong. After two years of trial, error, and yes, some expensive mistakes, I figured it was time to share what actually works for weekend warriors like us.
Here’s the thing about RV solar power – most guides throw complicated formulas at you. We’re going to skip all that. Instead, I’ll walk you through our actual setup, what we learned the hard way, and how to figure out what you really need without becoming a solar engineer.
Why We Went Solar (And Why You Might Want To)
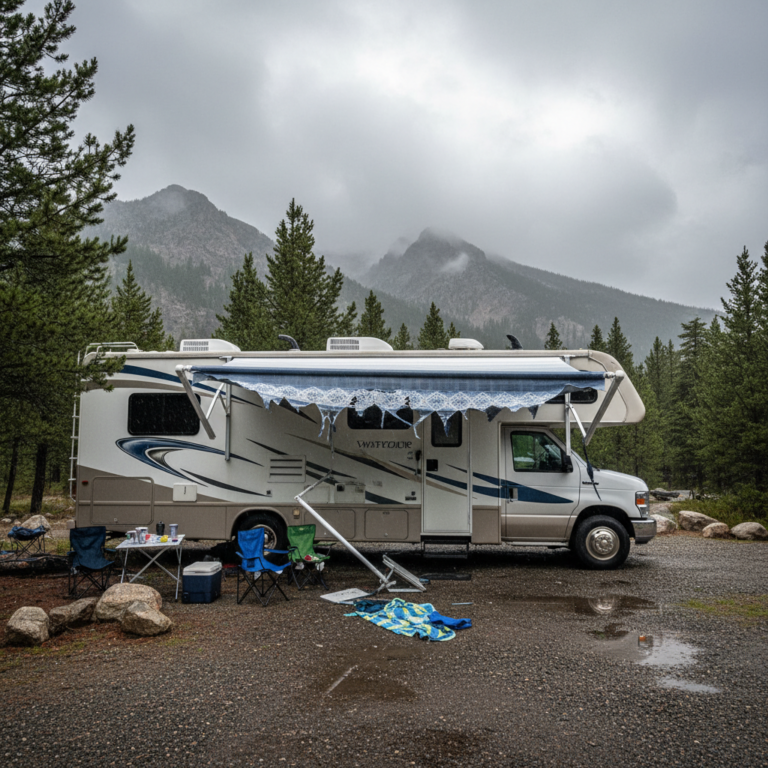
When we bought our first RV, we were those people who planned every trip around campgrounds with hookups. Nothing wrong with that, but we quickly realized we were missing some incredible spots. The best campsites – the ones with jaw-dropping views and complete solitude – usually don’t come with electrical pedestals.
Our first attempt at boondocking lasted exactly 18 hours. We ran out of juice by the second morning, and let me tell you, cold coffee hits different when you’re disappointed. That’s when we decided to get serious about solar.
The freedom is addictive. Now we can boondock comfortably for 3-4 days without breaking a sweat. More importantly, we’re not racing to find hookups every night.
Our RV Solar Setup: The Good, Bad, and Expensive
Let’s start with what we ended up with after all our experimenting:
Solar Panels: Four 100-watt panels (400 watts total)
Batteries: Two 100Ah lithium batteries (200Ah total)
Inverter: 2000-watt pure sine wave inverter
Controller: 40-amp MPPT charge controller
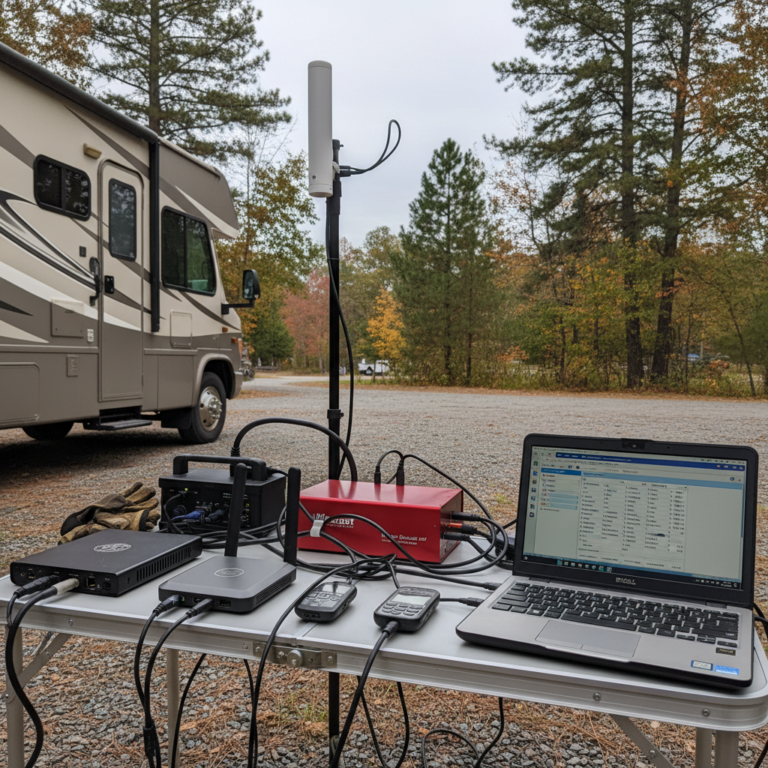
Monitoring: Battery monitor with Bluetooth
Now, here’s what we learned the hard way.
Mistake #1: Starting Too Small
Our first setup was one 100-watt panel and a single deep-cycle battery. Seemed reasonable for weekend trips, right? Wrong. We learned quickly that solar panels rarely produce their rated output, and batteries shouldn’t be drained below 50% if you want them to last.
That single battery gave us maybe 50Ah of usable power. With our RV kitchen essentials running – coffee maker, microwave, even just the water pump – we were done by evening.
Mistake #2: Cheaping Out on Batteries
Initially, we went with traditional lead-acid batteries because they were cheaper. Big mistake. They’re heavy, need ventilation, and you can only use about half their capacity. When we finally upgraded to lithium, it was like getting a completely different system.
Lithium batteries cost more upfront, but they’re lighter, last longer, charge faster, and you can use nearly all their capacity. For weekend warriors, it’s worth the investment.
How Much RV Solar Power Do You Actually Need?
Forget the complicated math. Here’s how we figured out our power needs the simple way.
First, we spent a weekend camping with hookups but tracked everything we used. We plugged a basic power meter into our shore power connection and watched it for 48 hours. Eye-opening stuff.
Our typical weekend power consumption:
• Coffee maker (15 minutes): 25Ah
• Microwave (10 minutes total): 20Ah
• LED lights (6 hours): 15Ah
• Water pump (intermittent): 5Ah
• Phone/laptop charging: 10Ah
• Fridge (12V, continuous): 30Ah
• Miscellaneous: 15Ah
Total daily usage: About 120Ah
This means we need at least 120Ah of battery capacity for one day, assuming we can recharge fully each day. But solar panels don’t always deliver full power, and you need some buffer.
The Weekend Warrior Sweet Spot
For most couples doing 2-3 day trips, we recommend:
• 200-300 watts of solar panels (minimum)
• 200Ah of lithium batteries
• MPPT charge controller
• 1500-2000 watt inverter
This gives you two full days of power even with limited sun, and you’ll recharge on day three if you get decent sunlight.
Installation Reality Check
We installed our system ourselves, but let’s be honest – it’s not a simple weekend project. The panels themselves are straightforward if you’re handy with tools. It’s the electrical work that gets tricky.
The battery and inverter installation requires running heavy gauge wire, installing fuses and breakers, and understanding your RV’s electrical system. We watched probably 20 YouTube videos and still called an RV electrician to check our work.
If you’re not comfortable with electrical work, budget for professional installation. It typically costs $500-1000, but it’s worth it for safety and warranty purposes.
Roof Considerations
Before you buy anything, crawl up on your roof and measure. Seriously. We see so many people buy panels that don’t fit around their AC units, vents, and antenna.
Also, consider how you’ll clean them. Solar panels covered in dirt produce about as much power as solar panels in the shade – which is to say, not much.
Real-World Performance: What to Expect
Here’s the truth about RV solar power that nobody talks about: it’s weather dependent, obviously, but also season and location dependent in ways you might not expect.
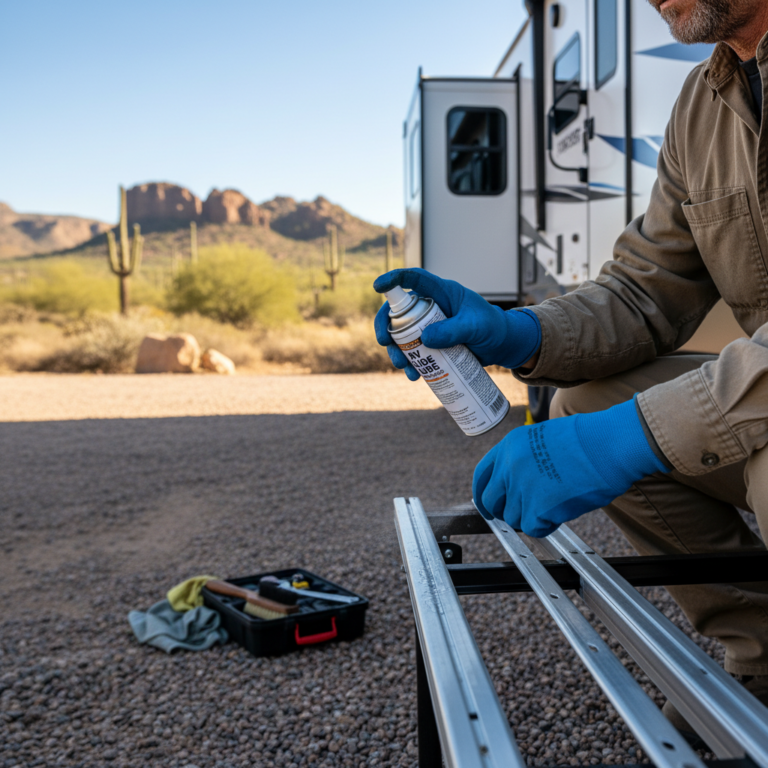
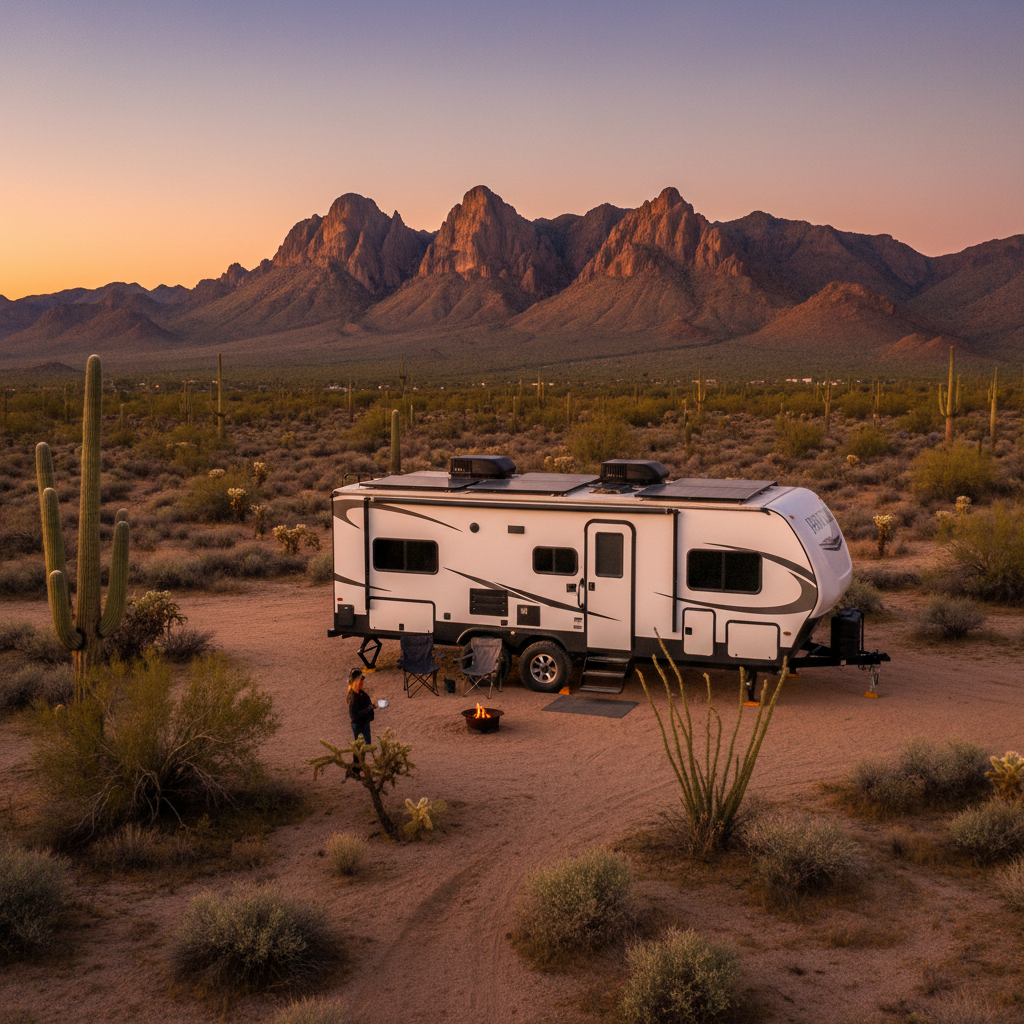
Our 400-watt system produces about 200-250 watts on average during good conditions. In Arizona in January, we get about 6 hours of decent production. In Vermont in July, we might get 4-5 hours but with more intense peaks.
Cloudy days are rough. We might only generate 50-100 watts total. This is why battery capacity matters so much.
Shading is Your Enemy
Even partial shade can kill your output. When one panel in a series gets shaded, it can reduce the entire string’s production. We learned this camping under trees in New England.
Some RVers install power optimizers or use parallel wiring to minimize shading losses. We just became better at parking – south-facing when possible, away from tall trees.
Maintenance and Troubleshooting
Solar systems are pretty low-maintenance, but they’re not no-maintenance. Here’s what we do:
Monthly: Check battery voltage and clean panels
Seasonally: Inspect all connections and mounting hardware
Annually: Test the system under load and update firmware on smart components
The most common issue we’ve had? Loose connections. Vibration from driving can work things loose over time. A good battery monitor will help you catch problems early.
When Things Go Wrong
Last summer, our charge controller died in the middle of a week-long trip. Having a multimeter and basic understanding of your system can save your vacation. We were able to bypass the controller temporarily and charge directly from the panels at low current.
Always carry spare fuses and have the manual for every component. Trust me on this.
Budget Reality: What It Actually Costs
Our current setup cost about $3,200 in components, plus installation costs. Here’s the breakdown:
• Solar panels: $400
• Lithium batteries: $1,800
• Inverter: $350
• Charge controller: $200
• Monitoring system: $150
• Wiring, fuses, mounting: $300
You can definitely do it cheaper with lead-acid batteries and smaller components, but we think our setup hits the sweet spot for serious weekend use.
Compare this to campground fees, and the math works out pretty quickly. We were spending $40-50 per night for hookup sites. After our first season with solar, we’ve already saved more than half the system cost by boondocking instead.
Should You Add RV Solar Power?
If you’re always going to stay in RV parks with full hookups, probably not. But if you want the freedom to explore remote areas, save money on campground fees, or just have backup power during outages, solar makes sense.
For weekend warriors, it’s especially valuable. You can arrive at a dispersed camping spot on Friday afternoon and not worry about power until you head home Sunday. No generators, no noise, just quiet independence.
The technology has gotten better and cheaper in the last few years. What we paid $3,200 for would have cost twice that five years ago.
Start Small, But Plan Big
If you’re not ready for a full system, start with a portable panel and lithium battery setup. You can always expand later. Many RVers begin with a portable system to test the waters before committing to a permanent installation.
Just make sure your initial setup can grow. Nothing worse than buying components that don’t play well together when you’re ready to expand.
The Bottom Line on RV Solar
Two years in, we love our solar setup. It’s opened up camping possibilities we never had before and given us confidence to venture further off the beaten path. Yes, it was an investment, but it’s paid for itself in campground savings and enhanced experiences.
The key is being realistic about your needs and understanding that solar isn’t magic – it’s just another tool in your RV arsenal. Done right, it’s incredibly liberating. Done wrong, it’s an expensive disappointment.
If you’re considering finding your RV fit, factor in your power needs early. Solar capability should influence your RV choice, especially if you plan to boondock regularly.
Most importantly, don’t let perfect be the enemy of good. Our first modest system taught us more about our actual needs than any amount of research could have. Start somewhere, learn as you go, and upgrade when it makes sense.
The best time to add solar to your RV? Right before your next big adventure off-grid.