RV Water Winterization: Complete Step-by-Step Guide
Nothing quite prepares you for that sinking feeling when you turn on your RV faucet in spring and hear… nothing. Then you see the puddle forming under your rig and realize your RV water winterization wasn’t quite as thorough as you thought. Trust me, we’ve been there – standing in a muddy campground at 6 AM, staring at a cracked water line and wondering how much this mistake was going to cost us.
After five winters on the road and one expensive lesson, we’ve got the winterization process down to a science. Today I’m walking you through our complete RV water winterization routine – the one that actually works and won’t leave you with frozen pipes come spring thaw.
Why RV Water Winterization Matters More Than You Think
Here’s the thing about water damage in RVs – it’s not just expensive, it’s relationship-testing. When our gray tank froze solid in Colorado, we spent three days dealing with repair shops instead of exploring Rocky Mountain National Park. The repair bill? $800. The stress on our marriage? Priceless (and not in a good way).
Water expands about 9% when it freezes. In the confined space of RV plumbing, that expansion has nowhere to go except through your pipes, fittings, and tanks. We’re talking about potential damage to:
- Fresh water tank and lines
- Gray and black water tanks
- Water pump and filtration systems
- Faucets, shower heads, and toilet mechanisms
- Hot water heater (the big-ticket item)
The good news? Proper winterization takes maybe two hours and costs about $15 in antifreeze. Compare that to thousands in frozen pipe repairs, and it’s a no-brainer.
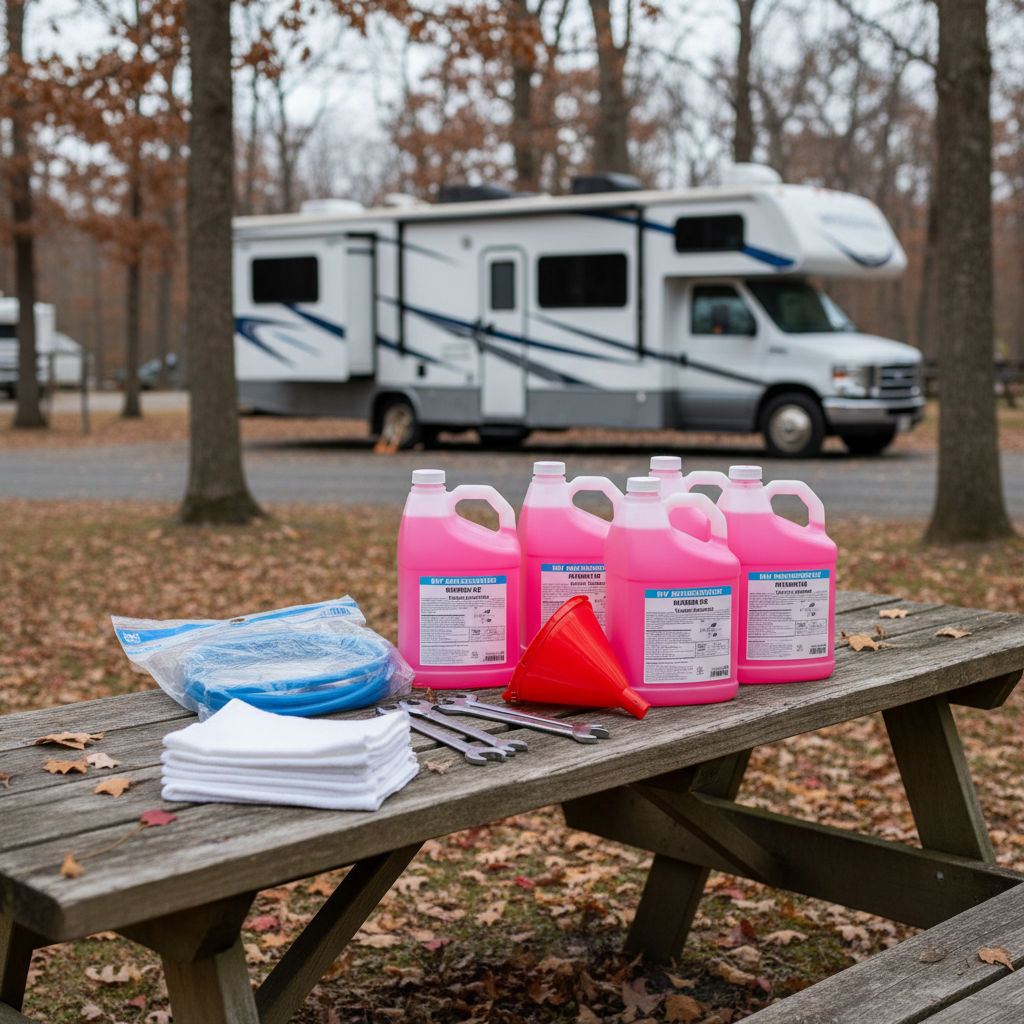
Essential RV Water Winterization Supplies
Before we dive into the process, let’s talk gear. You don’t need a lot, but having the right stuff makes this job infinitely easier. Here’s what we keep in our winterization kit:
Must-Have Supplies:
- 2-3 gallons of RV antifreeze (pink stuff, not automotive)
- Water pump converter kit or hand pump
- Basic wrenches and screwdrivers
- Funnel for adding antifreeze
- Towels (lots of them)
Speaking of gear, we learned the hard way that having the right tools makes everything easier. Check out our RV Kitchen Essentials guide for other must-have items that’ll make your rig life smoother.
Optional but Helpful:
- Shop vacuum for stubborn water removal
- Air compressor (blow-out method)
- Extra fittings and connectors
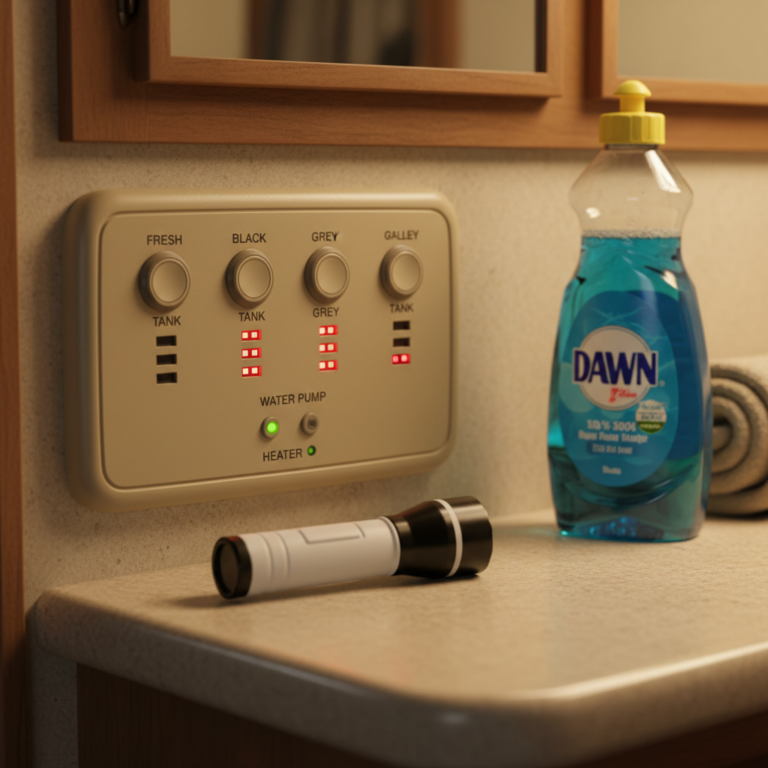
- Headlamp for working in tight spaces
Step 1: Drain Your Fresh Water System
Start with the obvious stuff – get all the water out of your fresh water system. This means more than just opening a few faucets and calling it good.
Drain the Fresh Water Tank:
Locate your fresh water tank drain valve (usually underneath your rig) and open it completely. Let gravity do its work, but don’t expect it to get everything. We use our water pump to help push out the last bits – just run it for 30 seconds after the flow stops.
Empty All Faucets and Fixtures:
Open every single water outlet in your RV. Kitchen faucet, bathroom sink, shower, toilet flush valve – everything. Don’t forget the hot water side of each fixture. Water loves to hide in P-traps and low spots, so let everything drain for at least 15 minutes.
Pro tip: Turn on your water pump briefly while faucets are open to push out any remaining water in the lines. You’ll hear it cavitate (make angry noises) when it’s pulling air instead of water.
Step 2: Drain and Bypass Your Hot Water Heater
Your hot water heater holds 6-10 gallons of water, and it’s one of the most expensive components to replace if it freezes. Take your time with this step.
Turn Off Power and Let It Cool:
First things first – turn off your hot water heater and let it cool down if you’ve been using it. Hot water and antifreeze don’t play well together, and you don’t want to waste antifreeze heating it up unnecessarily.
Drain the Tank:
Remove the drain plug or open the drain valve on your hot water heater. Have a bucket ready – this water comes out fast and messy. While it’s draining, remove the anode rod if your heater has one. This lets air in and helps the tank drain completely.
Set Up the Bypass:
Most modern RVs have a hot water heater bypass valve system already installed. If yours doesn’t, you can buy a bypass kit for about $20. The bypass routes water around your hot water tank during winterization, so you’re not filling a 6-gallon tank with expensive antifreeze.
Understanding Your RV Water Winterization Options
You’ve got two main approaches to protecting your water lines: the antifreeze method and the compressed air method. We’ve tried both, and honestly, the antifreeze method wins for most RVers.
Why We Prefer Antifreeze:
The antifreeze method is more foolproof. Even if you miss a spot or water gets back into the system somehow, the antifreeze provides a safety net. It’s also easier for beginners – less chance of making a mistake that leads to frozen pipes.
When Compressed Air Makes Sense:
If you’re storing your RV somewhere with easy access and plan to check on it regularly, the compressed air method works fine. It’s also better if you’re environmentally conscious and want to avoid antifreeze disposal issues.
Step 3: The Antifreeze Method (Our Recommended Approach)
This is where the magic happens. We’re going to push RV-safe antifreeze through every water line in your rig.
Set Up Your Antifreeze Delivery System:
You can either use a water pump converter kit (connects to your existing water pump) or a hand pump that sits in the antifreeze jug. We prefer the converter kit – it’s faster and less arm exercise.
If you’re using a pump converter kit, disconnect the line that goes from your water pump to your fresh water tank. Connect the kit’s pickup line to your water pump inlet, and drop the other end into your antifreeze jug.
Fill the Lines Systematically:
Turn on your water pump and start at the faucet farthest from the pump. Open the cold water side first, and wait until you see bright pink antifreeze flowing out steadily. Then switch to hot water and repeat.
Work your way through every fixture:
- Kitchen faucet (cold, then hot)
- Bathroom sink (cold, then hot)
- Shower (cold, then hot)
- Toilet (flush until pink appears)
- Outdoor shower if equipped
- Ice maker lines if you have them
Don’t forget about your toilet – flush it until pink antifreeze appears in the bowl. This protects the flush valve and any water that might be trapped in the system.
Step 4: Protect Your Waste Water Systems
Your gray and black water tanks need attention too, but it’s a simpler process than the fresh water system.
Empty Your Tanks:
Start with empty tanks – dump them if they’re not already empty. You want to get as much water out as possible before adding antifreeze.
Add Antifreeze Protection:
Pour about a gallon of antifreeze into your black tank through the toilet, and another gallon into your gray tank through a sink drain. This protects the tanks themselves and any water that might remain in the drain lines.
Run water (or antifreeze) through your P-traps too. Those curved sections under your sinks can hold water that’ll freeze and crack the trap.
Common RV Water Winterization Mistakes (And How We Made Them)
Let’s talk about the mistakes that cost us money and taught us valuable lessons.
Mistake #1: Forgetting About the Water Filter
Our first winter, we completely forgot about our inline water filter. It had about a cup of water in it that froze solid and cracked the housing. Now we always remove and drain any water filters during winterization.
Mistake #2: Skipping the Washing Machine
If you have a washer/dryer combo in your RV, don’t forget about it. These units have multiple water lines and can hold surprising amounts of water. Consult your manual for the proper winterization procedure – it’s usually a special cycle you can run with antifreeze.
Mistake #3: Not Checking Outdoor Components
Outdoor kitchens, showers, and water spigots need protection too. We learned this the hard way when our outdoor shower valve cracked because we forgot to run antifreeze through it.
Advanced Tips for Thorough RV Water Winterization
After a few seasons of trial and error, we’ve picked up some tricks that ensure complete protection.
The Two-Gallon Rule:
Plan on using at least two gallons of antifreeze, maybe three for larger rigs. It seems like a lot, but it’s cheap insurance. We’d rather use too much than not enough.
Mark Your Calendar:
Don’t wait until the first freeze warning. We winterize our RV system when nighttime temperatures consistently drop below 40°F. This gives us a buffer for unexpected cold snaps.
Test Your Work:
After winterization, turn on each faucet briefly to make sure pink antifreeze comes out. If you see clear liquid, you’ve got water somewhere that needs to be addressed.
Special Considerations for Different RV Types
Not all RVs are created equal when it comes to winterization. Here’s what we’ve learned about different rig types.
Class A Motorhomes:
These big rigs often have more complex systems – multiple water heaters, washing machines, ice makers. Take extra time to identify all the water-using appliances. When we were researching our 4-week budget plan for buying our first RV, we learned that larger rigs mean more systems to maintain.
Travel Trailers and Fifth Wheels:
Usually simpler systems, but pay attention to the underbelly construction. Some have enclosed and heated underbellies that provide freeze protection, while others leave everything exposed.
Truck Campers:
These smaller rigs are easy to winterize but often have minimal insulation. The compact space means everything’s close together, but water lines are often more exposed to outside temperatures.
Spring De-Winterization: Getting Back on the Road
When winter’s over and you’re ready to hit the road again, you’ll need to flush that antifreeze out of your system.
The Flush Process:
Connect to fresh water and run each faucet until the water runs clear. Start with cold water, then hot. You’ll taste a slight antifreeze flavor for the first few uses – that’s normal and harmless with RV antifreeze.
Fill and flush your fresh water tank at least twice to get all the antifreeze taste out. Some folks are more sensitive to the taste than others, so don’t skip this step.
Check Everything:
Before your first trip, test all your systems. Run the water pump, check for leaks, make sure your hot water heater is working properly. It’s also a good time to replace your water filter if you removed it for winter storage.
Winterization Costs and Budgeting
Let’s talk numbers. Professional winterization typically runs $150-300, depending on your area and rig complexity. DIY costs run about $15-30 in antifreeze and maybe $50 for tools if you don’t have them already.
Compare that to frozen pipe repairs. We’ve seen bills ranging from $500 for simple line replacement to $3000+ for water heater replacement and related damage. The math is pretty clear on this one.
If you’re working within a tight budget, check out our boondocking on a budget guide for more money-saving RV tips.
Final Thoughts on RV Water Winterization
Here’s the bottom line: RV water winterization isn’t glamorous, but it’s essential. It’s one of those maintenance tasks that seems like a hassle until you skip it and deal with the consequences.
Take your time, be thorough, and don’t try to cut corners. The couple hours you spend now will save you days of hassle and potentially thousands in repairs later. Plus, there’s something satisfying about knowing your rig is properly protected and ready for whatever winter throws at it.
After five winters of getting this right (and one of getting it very wrong), we can tell you that proper winterization gives you peace of mind. Whether you’re storing your RV for the season or just protecting it during a cold snap, knowing your water system is safe lets you focus on the fun stuff – like planning next year’s adventures.
Stay warm out there, and remember: pink antifreeze in your lines beats frozen pipes every single time.