RV Tire Blowouts: What We Wish We’d Known Before
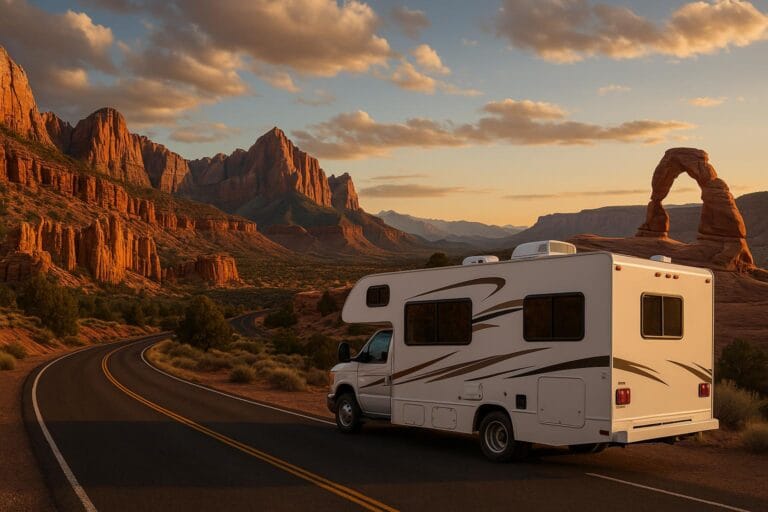
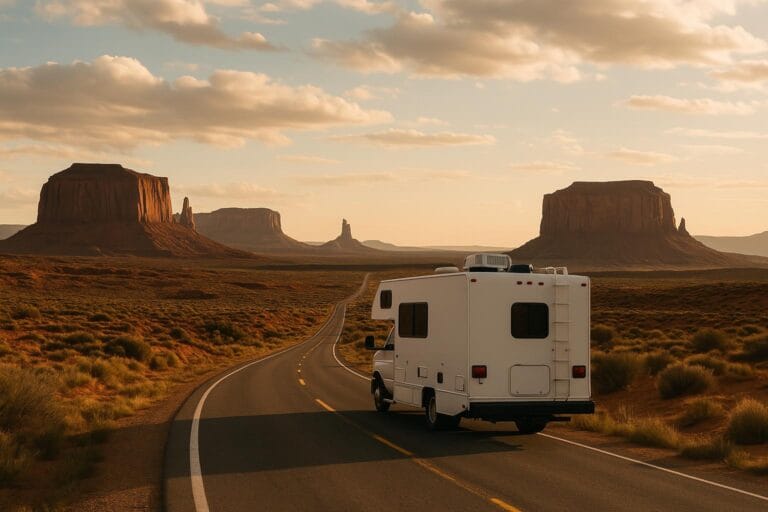
Picture this: you’re cruising down I-40 at 70 mph, talking about dinner plans, when suddenly your rig lurches hard right and you hear that unmistakable sound – the violent flapping of shredded rubber against your wheel well. Welcome to your first RV tire blowout, courtesy of a sidewall failure that taught us more expensive lessons in five terrifying minutes than we’d learned in our first year on the road.
That sidewall blowout happened to us outside Amarillo, Texas, and honestly? We were lucky. Lucky the tire chose that moment instead of during our mountain descent in Colorado. Lucky we had enough shoulder to pull over safely. But we weren’t prepared – not even close.
Here’s what every RVer needs to know about preventing tire blowouts and handling them when they inevitably happen. Because trust me, it’s not a matter of if, it’s when.
Why RV Tire Blowouts Happen More Than You Think
RV tires face challenges that regular car tires never see. We’re talking about carrying massive loads for thousands of miles, often in extreme temperatures, with owners who might check tire pressure about as often as they clean their black tank – which is to say, not nearly enough.
After talking with tire shops and fellow RVers across the country, here are the main culprits behind most RV tire failures:
Underinflation is the silent killer. When your tires run low on air, the sidewalls flex more with each rotation, generating heat that breaks down the internal structure. It’s like repeatedly bending a paperclip – eventually, it snaps.
Overloading happens more than we admit. Just because your rig has a 10,000-pound GVWR doesn’t mean the tires can handle that weight if it’s distributed unevenly. That slide-out full of kitchen essentials might be putting your passenger-side tires over their individual load ratings.
Age kills tires faster than miles. Those tires might look fine with plenty of tread, but rubber degrades over time. Most experts recommend replacing RV tires every 5-7 years, regardless of tread depth.
The Real Cost of an RV Tire Blowout
Our blowout cost us way more than just a tire. Sure, the replacement tire ran $200, but that was just the beginning. The sidewall explosion took out our fender skirt ($150), cracked the slide-out trim ($75 to fix), and damaged the brake line enough that we needed professional repair ($300).
Then there was the towing fee to get us off the interstate ($180), the motel room while we waited for parts ($120), and the meals out because our slide wouldn’t extend properly until we got the trim fixed. All told, that one blowout cost us nearly $1,200.
But the real cost? The stress. The what-ifs. The realization that we’d been driving around essentially unprepared for something that happens to most RVers eventually.
Prevention: Your First Line of Defense Against Tire Blowouts
After that wake-up call, we got serious about tire maintenance. Here’s what actually works, not the theoretical stuff you read in manuals.
Get a Real Tire Pressure Monitoring System
Forget the pencil gauges and those stick-on pressure indicators. Invest in a proper TPMS (Tire Pressure Monitoring System) that gives you real-time readings while you’re driving. We use the TST 507, and it’s saved us from at least three potential problems by alerting us to slow leaks before they became blowouts.
The system cost us $400, but considering our blowout repair bill, it paid for itself the first time it caught a tire losing air on a long stretch through Nevada.
Learn Your Real Weights and Load Ratings
Don’t guess about this stuff. Get your rig weighed at a truck stop or RV rally – all four corners individually if possible. We thought we were within limits until we actually weighed ours and found our driver’s side rear was carrying 800 pounds more than the passenger side.
Check your tire sidewalls for the actual load rating (it’s the number followed by a letter, like 2540G). That number is per tire, and you want to stay at least 10% below it for safety margin.
Develop a Pre-Trip Inspection Routine
Every morning before we roll, one of us walks around the rig. We’re looking for obvious bulges, cuts, or foreign objects in the tires. It takes two minutes and has caught nails, screws, and one memorable piece of rebar that would’ve definitely caused problems down the road.
We also check tire pressure weekly, not just before long trips. Temperature changes can swing your pressure by 5-10 PSI, and consistently running even slightly low will shorten tire life dramatically.
When the Blowout Happens: Your Emergency Action Plan
Despite your best prevention efforts, blowouts still happen. Here’s what we learned from our experience and talking with other RVers who’ve been there.
The First Critical Seconds
Don’t slam the brakes. This was the hardest thing to override – every instinct screams to hit the brakes hard. Instead, maintain steady throttle or even accelerate slightly to regain control, then gradually slow down once you’re stable.
Keep both hands on the wheel and fight the pull. The rig will want to swerve toward the blown tire. Counter-steer firmly but smoothly. Don’t overcorrect or you might end up fishtailing.
Signal and get off the road safely. Use your hazards, signal early, and get as far right as possible. Even if you have to drive a quarter-mile on the rim, it’s better than changing a tire in active traffic.
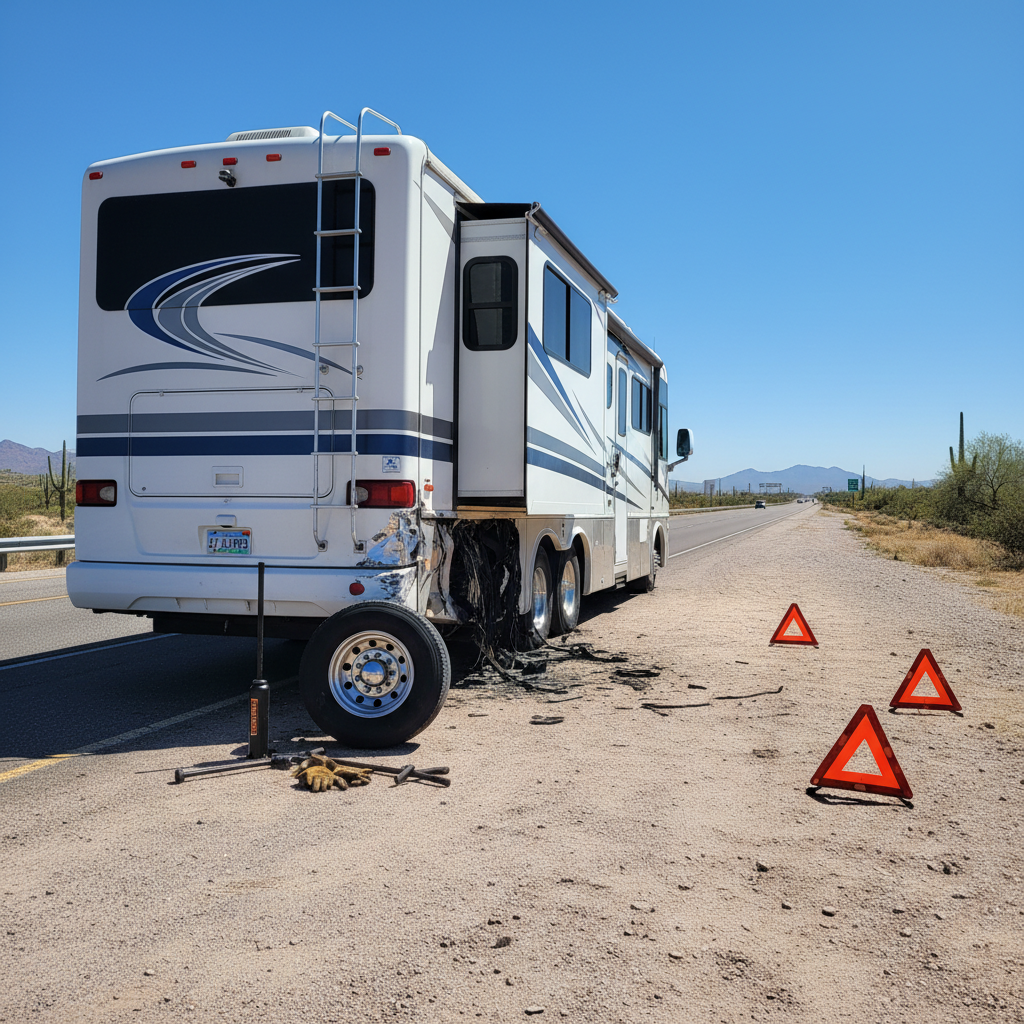
Roadside Safety Protocol
Once you’re stopped, safety trumps everything else. Set up reflective triangles at least 100 feet behind your rig (we carry the bright orange kind that actually get noticed). If you’re on an interstate, consider that first triangle 200 feet back.
Everyone stays on the side of the RV away from traffic while you assess the damage. Seriously, more people get hurt by passing vehicles than by the actual blowout.
Essential Roadside Tire Equipment Every RVer Needs
After our blowout, we completely overhauled our roadside emergency kit. Some of this stuff you hope to never use, but when you need it, you really need it.
A real jack that can handle your rig’s weight. Those scissor jacks that come with many RVs are barely adequate and downright dangerous on soft ground. We invested in a heavy-duty hydraulic jack and haven’t looked back.
Proper lug wrench and torque wrench. Many RV lug nuts require more torque than you can safely apply with a standard wrench. A 4-way lug wrench gives you better leverage, and a torque wrench ensures you don’t over-tighten and warp your brake rotors.
Leveling blocks and wheel chocks. You might need to level the rig to get the blown tire off the ground, and you definitely need to chock the other wheels before jacking. We learned this lesson when our rig started rolling backward on what we thought was level ground.
A spare tire – obviously. But make sure it’s properly inflated and not ancient. We check our spare’s pressure monthly now. Also, if you have dual wheels, consider carrying two spares. Replacing just one of a dual set puts extra stress on the remaining tire.
Tools That Make the Job Possible
Beyond the basics, a few additional tools can turn a roadside disaster into just an inconvenience. A good LED work light makes all the difference when you’re changing a tire at dusk. Work gloves protect your hands and give you better grip on tools.
We also carry a small air compressor. Not for inflating a flat tire back to full pressure, but for adding enough air to a low tire to get you to a proper repair facility. It’s also handy for topping off your spare or adjusting pressure after temperature swings.
Professional vs DIY: When to Call for Help
Not every tire situation is a DIY job, and there’s no shame in calling for professional help. Here’s how we decide:
We handle it ourselves if: The blown tire is on level, stable ground away from heavy traffic, we have good lighting, and the damage is clearly limited to just the tire. Single rear tires are usually manageable if you have the right tools.
We call for help if: We’re on a busy interstate with limited shoulder space, the ground is soft or sloped, it’s dark with poor visibility, or there’s damage beyond just the tire (like brake lines or suspension components). Dual wheel situations can be tricky too – sometimes the good tire is pinned against the damaged one.
Good Sams roadside assistance runs about $100/year and includes RV-specific towing. We also carry commercial roadside coverage through our insurance. The peace of mind is worth it, especially after you’ve experienced a blowout firsthand.
Insurance and Warranty Considerations
Here’s something they don’t tell you when you’re buying tires: not all RV tire failures are covered equally by insurance or road hazard warranties.
Our insurance covered the towing and the damage to the rig, but not the tire itself. However, the tire had a road hazard warranty that covered replacement cost minus the pro-rated usage. Since our tire was only 18 months old, we got about 60% of the replacement cost back.
Keep your tire receipts and know what’s covered. Some warranties only cover manufacturing defects, not road hazard damage. Others require professional installation to remain valid. Read the fine print before you need it.
Lessons Learned: What We’d Tell Our Past Selves
Looking back on our RV tire blowout experience, here’s what we wish we’d known before rolling out of the driveway for the first time:
Invest in quality tires upfront. Cheap tires are expensive in the long run. We replaced our bargain tires with Michelin XPS Ribs and haven’t had a failure since. Yes, they cost more initially, but the peace of mind is priceless.
Learn the signs of impending failure. Tires usually give warning signs before they catastrophically fail. Unusual wear patterns, bulges, cracks in the sidewall, or vibration while driving can all indicate problems. We just didn’t know what to look for.
Practice changing a tire in your driveway. Seriously. Don’t wait until you’re stressed out on the side of the road to figure out where your jack points are or how to access your spare. We spent way too much time fumbling around while trucks flew past at 80 mph.
Most importantly, understand that tire blowouts are part of RV life, like awning fails and slide-out hiccups. The goal isn’t to avoid them entirely – though prevention helps – but to be prepared when they happen.
Building Your Tire Emergency Kit
Based on our experience and conversations with other RVers, here’s our recommended tire emergency kit. You can build this gradually, but prioritize the safety items first.
Immediate needs: Reflective triangles, good flashlight, work gloves, basic tools (lug wrench, jack, tire gauge). This stuff needs to be accessible and functional right now.
Next priority: Tire pressure monitoring system, quality spare tire, leveling blocks, and wheel chocks. These turn a potential disaster into a manageable inconvenience.
Nice to have: Air compressor, tire sealant (for minor leaks), multitool, tarp to lie on, and maybe a 12V impact wrench if you want to make the job easier. Just like upgrading our solar setup, you can always add to your kit as budget allows.
The important thing is starting with something. Even basic roadside tools are better than being completely unprepared like we were.
Moving Forward: Staying Vigilant Without Paranoia
That blowout changed how we approach RV travel, but it didn’t make us afraid of the road. If anything, being properly prepared has made us more confident about tackling longer trips and more remote destinations.
We still check tire pressure religiously, inspect our tires before every travel day, and maintain our emergency kit. But we also know that sometimes stuff just happens, and when it does, we’re ready to handle it safely and get back on the road.
The RV lifestyle involves accepting that mechanical issues are part of the adventure. Whether it’s tire trouble, slide-out maintenance, or winterization challenges, each problem teaches you something that makes you more self-sufficient and confident.
That sidewall blowout outside Amarillo was scary, expensive, and inconvenient. But it also taught us lessons that have prevented bigger problems down the road. Sometimes the most valuable education comes wrapped in the least convenient packages.
Stay safe out there, check your pressure, and remember – every experienced RVer has at least one tire story. Now you’ll be ready to handle yours when it comes.