RV Fridge Troubleshooting: Fix Your Warm Food Crisis
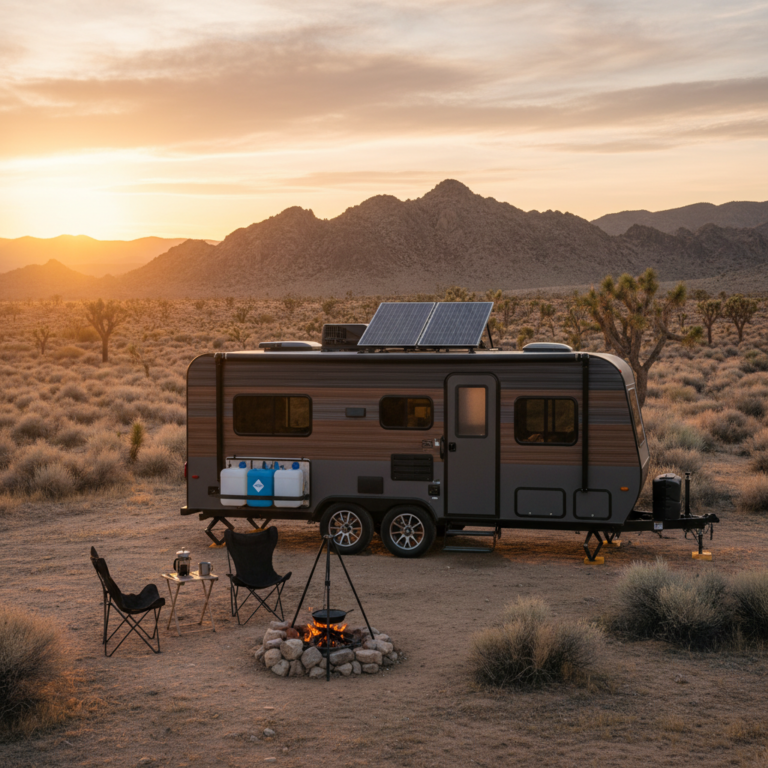
Picture this: you’re three days into a perfect boondocking trip in Utah’s red rock country when you open your RV fridge troubleshooting nightmare – everything’s warm, the milk’s sour, and your carefully planned meals are heading straight to the dumpster. Been there, done that, and learned some hard lessons about absorption fridges the expensive way.
Last summer, our Dometic gave up the ghost 200 miles from the nearest RV service center. What started as a panic attack turned into a crash course in fridge detective work that saved us hundreds in service calls and kept our trip rolling. Today I’m sharing the step-by-step troubleshooting process that got our cooling system back online and the simple fixes every RVer should know.
Understanding Your RV Fridge Troubleshooting Basics
Most RV fridges are absorption units, not the compressor types you’ve got at home. They’re basically controlled science experiments using heat, ammonia, and physics to create cold. Sounds backwards, right? Heat makes cold. But that’s also why they’re finicky and why your RV fridge troubleshooting skills need to be sharp.
Unlike your home refrigerator that kicks on and off, absorption fridges run continuously. They need level ground, proper ventilation, and consistent power to work their magic. When any of these factors go sideways, so does your food preservation.
The good news? Most fridge failures aren’t actually failures at all. They’re usually simple issues you can diagnose and fix yourself with basic tools and some patience.
The Detective Work: Systematic Diagnosis Steps
When our fridge went warm near Moab, my first instinct was pure panic. But after a couple deep breaths (and maybe a sip of something stronger), we started working through the problem methodically. Here’s the exact process that saved our bacon – literally.
Step 1: Check the Obvious Culprits
Start with the basics that’ll make you feel foolish if you skip them. Is the fridge actually turned on? Sounds dumb, but switches get bumped. Check your control panel settings. Make sure you’re not accidentally running on a power source that’s depleted.
Look at your propane gauge if you’re boondocking. We’ve learned this lesson the hard way more than once. Running out of propane doesn’t just kill your hot water and cooking – it kills your fridge too. Keep a backup tank if you’re planning extended off-grid time.
Check your shore power connection if you’re hooked up. Sometimes campground pedestals are wonky, and your fridge might not be getting the consistent 120V it needs to operate efficiently.
Step 2: Level Check
This one’s huge. Absorption fridges are picky about being level. We’re talking really picky – more than 3 degrees off level in any direction and they start struggling. More than 6 degrees and they might quit entirely.
Use your RV’s built-in level indicators or a smartphone app. Front to back, side to side. If you’re not level, that’s probably your problem right there. Move the rig or use leveling blocks to get things squared away.
I can’t tell you how many times we’ve pulled into a seemingly level site only to discover we’re parked on a slight slope. The fridge usually tells us within 12-24 hours by getting warm.
Step 3: Ventilation Investigation
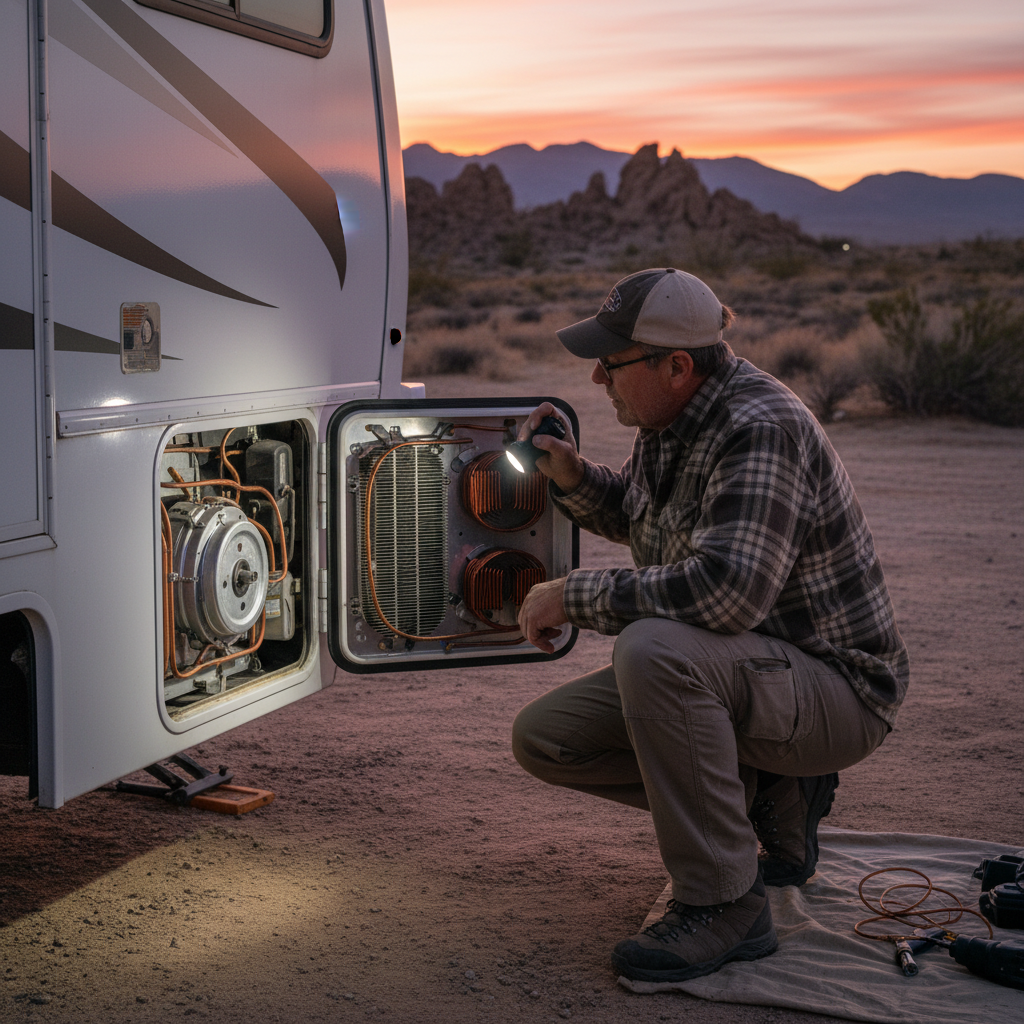
Absorption fridges create heat to make cold, and that heat has to go somewhere. Check your exterior vents – both upper and lower. Are they blocked by leaves, spider webs, or accumulated grime?
Remove the lower vent cover (usually just clips or screws) and peer inside with a flashlight. Look for obstructions, wasp nests, or debris. The cooling unit fins should be visible and relatively clean.
While you’re back there, this is a good time to check if your cooling unit fan is running. On 120V power, there should be a fan moving air across the coils. No fan noise? That’s a problem.
Power Source Troubleshooting
RV fridges are typically three-way units: 120V AC (shore power), 12V DC (while driving), and propane (boondocking). Each power source has its own potential failure points, and switching between them isn’t always seamless.
120V AC (Shore Power) Issues
When plugged into campground power, your fridge should automatically switch to AC operation. Check your circuit breaker panel – fridge circuits trip more often than you’d think, especially in older rigs with tired wiring.
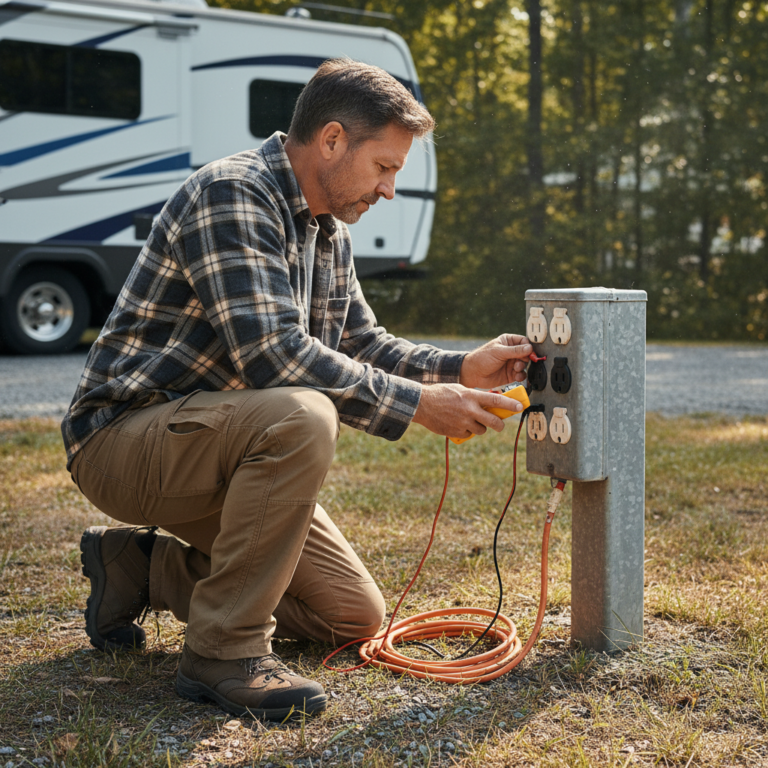
Test the outlet inside your fridge compartment with a multimeter or plug-in tester. You should see steady 120V. Fluctuating power or low voltage will cause cooling problems.
Campground power can be notoriously dirty or inconsistent. If you haven’t invested in a good surge protector, consider it essential equipment. We learned this lesson during a thunderstorm in Arkansas that fried our fridge control board.
12V DC (Travel Mode) Troubles
The 12V mode is designed to maintain temperature while driving, not to cool down a warm fridge. Check your fuse panel for blown fuses – the fridge circuit is usually clearly labeled.
Verify you’re getting 12V at the fridge when the engine’s running. Weak alternator output, corroded connections, or failing converter can all cause 12V problems. Your fridge needs consistent power to work properly.
Propane Mode Diagnosis
Propane mode is where things get interesting. First, ensure your propane valve is fully open and you’ve got adequate gas pressure. Check other propane appliances – if your stove won’t light either, you’ve got a supply problem.
Look for the blue flame through the lower vent. No flame means no cooling. If the flame’s yellow or orange instead of blue, you’ve got a combustion problem that needs attention.
Listen for the clicking of the igniter. Modern fridges have electronic ignition systems that should automatically light the burner when switching to propane mode.
Simple Fixes That Save Service Calls
Most RV fridge troubleshooting scenarios end with simple solutions, not expensive repairs. Here are the fixes that have gotten us back to cold beer and fresh food without breaking the bank.
The Ammonia Reset Trick
Sometimes absorption fridges just need a reset. Turn off the unit completely, let it sit for 4-6 hours, then restart on propane if possible. This allows the ammonia solution to redistribute and can resolve temporary blockages.
We’ve used this trick successfully twice – once in Colorado and once in the Florida Keys. Both times, the fridge came back online and worked perfectly for the rest of our trips.
Cleaning the Burner Assembly
If you’re comfortable with basic maintenance, cleaning the propane burner can solve flame issues. Turn off the propane and let everything cool completely. Remove the burner assembly (usually held by a couple screws) and clean the orifice with compressed air.
Be gentle – the orifice is precisely sized, and damage means replacement. Spider webs and debris are common culprits, especially if your rig sits unused for extended periods.
Control Board Reset
Electronic control boards sometimes glitch. Try disconnecting power for 30 minutes, then reconnecting. This forces a complete reset of the control system and can resolve communication errors between components.
Modern fridges have diagnostic modes accessible through button combinations on the control panel. Check your manual for the sequence – these modes can pinpoint specific failures without guesswork.
When to Call for Professional Help
Some problems are beyond DIY fixes, and knowing when to call in the pros can save you from turning a manageable repair into a major replacement. If you smell ammonia, stop troubleshooting immediately. That’s a sign of cooling unit failure and potentially dangerous refrigerant leaks.
Control board failures usually require replacement rather than repair. If you’ve verified power supplies and the unit still won’t respond to controls, you’re looking at professional service.
Cooling unit replacement is expensive – often $1,000+ in parts alone. Get multiple quotes and consider the age of your RV before committing to major repairs. Sometimes upgrading to a residential fridge makes more sense.
Prevention: Keeping Your Fridge Happy
The best RV fridge troubleshooting is preventing problems before they start. Regular maintenance goes a long way toward reliable operation, and most tasks take just minutes during your routine rig care.
Clean your exterior vents seasonally. Remove the covers, vacuum out debris, and check for damage. A $5 can of compressed air can prevent hundreds in service calls by keeping airflow clear.
Level religiously. We’ve gotten in the habit of checking our bubble levels every time we set up camp. Those extra stabilizing steps aren’t just for comfort – they’re for your fridge’s health too.
Monitor your power sources. Keep backup propane tanks filled, maintain your batteries, and invest in power monitoring equipment. Your fridge will thank you with years of reliable service.
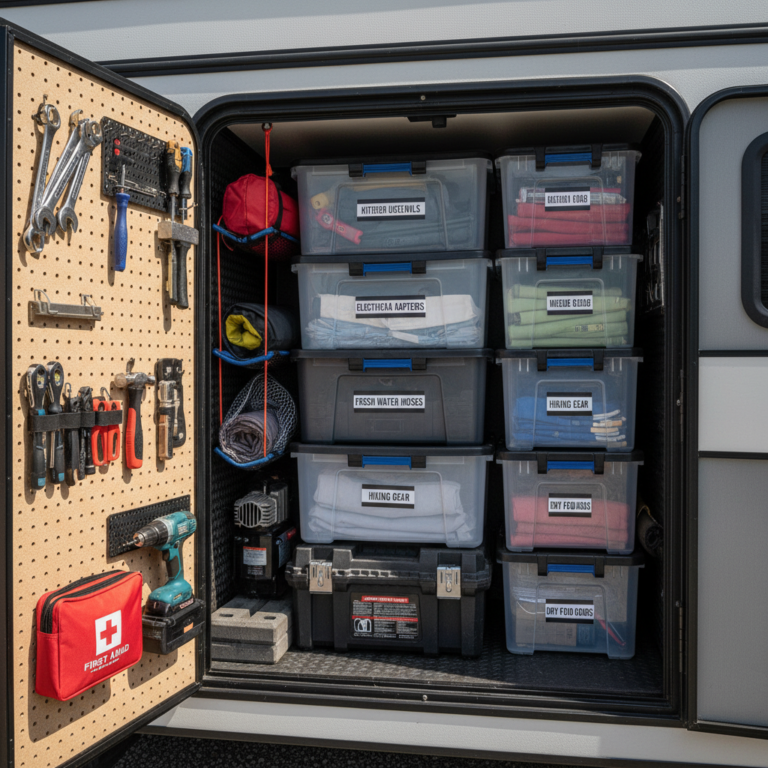
Having the right tools makes troubleshooting much easier. A good multimeter, basic hand tools, and a quality flashlight should be in every RV’s maintenance kit. Check out our essential tools guide for more recommendations.
Real-World Experience: Our Utah Breakdown
Let me tell you about that Utah incident I mentioned earlier. We’d been boondocking in Goblin Valley for three days when I opened the fridge to grab breakfast ingredients and found everything lukewarm. Panic set in – we were miles from civilization with a rig full of spoiling food.
First mistake: I immediately assumed the worst. Visions of thousand-dollar repair bills danced in my head. But my wife, ever the voice of reason, suggested we work through the problem systematically instead of driving 200 miles to the nearest repair shop.
We started with the basics. Power? Check. Propane? Check. But when I crawled under the rig to check the level, I discovered we were parked on a subtle slope I hadn’t noticed during setup. The bubble showed we were about 4 degrees off front to back.
It took 20 minutes to reposition using our leveling blocks. Within six hours, the fridge was cooling normally again. Total cost: zero dollars and some bruised pride. That experience taught us to always check level first, no matter how obvious the campsite looks.
Since then, we’ve helped several fellow RVers with similar issues. Most turned out to be simple problems with simple solutions. The key is staying calm and working through the troubleshooting steps methodically.
Emergency Food Preservation Tips
While you’re troubleshooting, you need to protect your food investment. Block ice lasts longer than cubed ice and fits better in RV fridges. If you can find dry ice, even better – but handle it safely and ensure adequate ventilation.
Prioritize your most expensive and perishable items. Meat and dairy go in the coldest spots with the most ice. Condiments and beverages can handle warmer temperatures longer.
Consider this an opportunity to simplify meals for a day or two. Canned goods, shelf-stable items, and simple preparations reduce your dependence on refrigeration while you get things sorted out.
Having backup plans makes these situations less stressful. We’ve learned to keep emergency food supplies that don’t require refrigeration, and we map out grocery stores along our routes just in case.
Tools for Successful Troubleshooting
Beyond basic hand tools, a few specialized items make fridge diagnosis much easier. A digital multimeter helps verify power supplies and continuity. An infrared thermometer lets you monitor temperatures accurately during troubleshooting.
Keep your owner’s manual accessible – either paper copies or photos on your phone. Wiring diagrams and troubleshooting flowcharts become invaluable when you’re dealing with problems on the road.
A basic electrical tester can verify campground power quality before you plug in. Bad power damages RV appliances, and prevention beats expensive repairs every time.
Learning from the Road
Every fridge problem teaches you something about your rig. We’ve learned our Dometic’s quirks over the years – it doesn’t like high altitude as much as we do, it gets cranky in extreme heat, and it absolutely demands level parking.
Join online RV forums specific to your fridge brand. The collective wisdom of experienced RVers beats any service manual. We’ve found solutions to obscure problems through forum searches that would have stumped professional techs.
Document your fixes with photos and notes. You’ll face similar problems again, and future troubleshooting goes much faster when you can reference what worked before.
Consider this knowledge part of the RV lifestyle learning curve. Like our awning adventures and other mechanical challenges, each problem solved makes you more confident and self-sufficient on the road.
Final Thoughts on Staying Cool
RV fridge problems feel catastrophic when they happen, but most are solvable with patience and systematic thinking. The troubleshooting skills you develop will serve you well beyond refrigeration – they apply to every system in your rig.
Don’t let fear of mechanical problems keep you from exploring. Yes, things break down on the road. But learning to handle these challenges is part of what makes RV travel rewarding and builds confidence for bigger adventures.
Keep your sense of humor when things go sideways. That warm beer might not be ideal, but it’s still beer. And the stories you’ll tell about your roadside repairs become some of the best memories from your travels.
The key is preparation, patience, and willingness to learn. Master these RV fridge troubleshooting basics, and you’ll handle most cooling crises with confidence instead of panic. Your food will stay fresh, your wallet will stay full, and your adventures will keep rolling smoothly down the road.